
This project started with a simple question: what can I do with a shelving unit that still has plenty of good lumber in it? The answer was pretty obvious once I looked at all that redwood—take it apart, reuse as much as possible, and build something I’ll actually use every time I’m in the workshop.
Step 1: The Starting Point
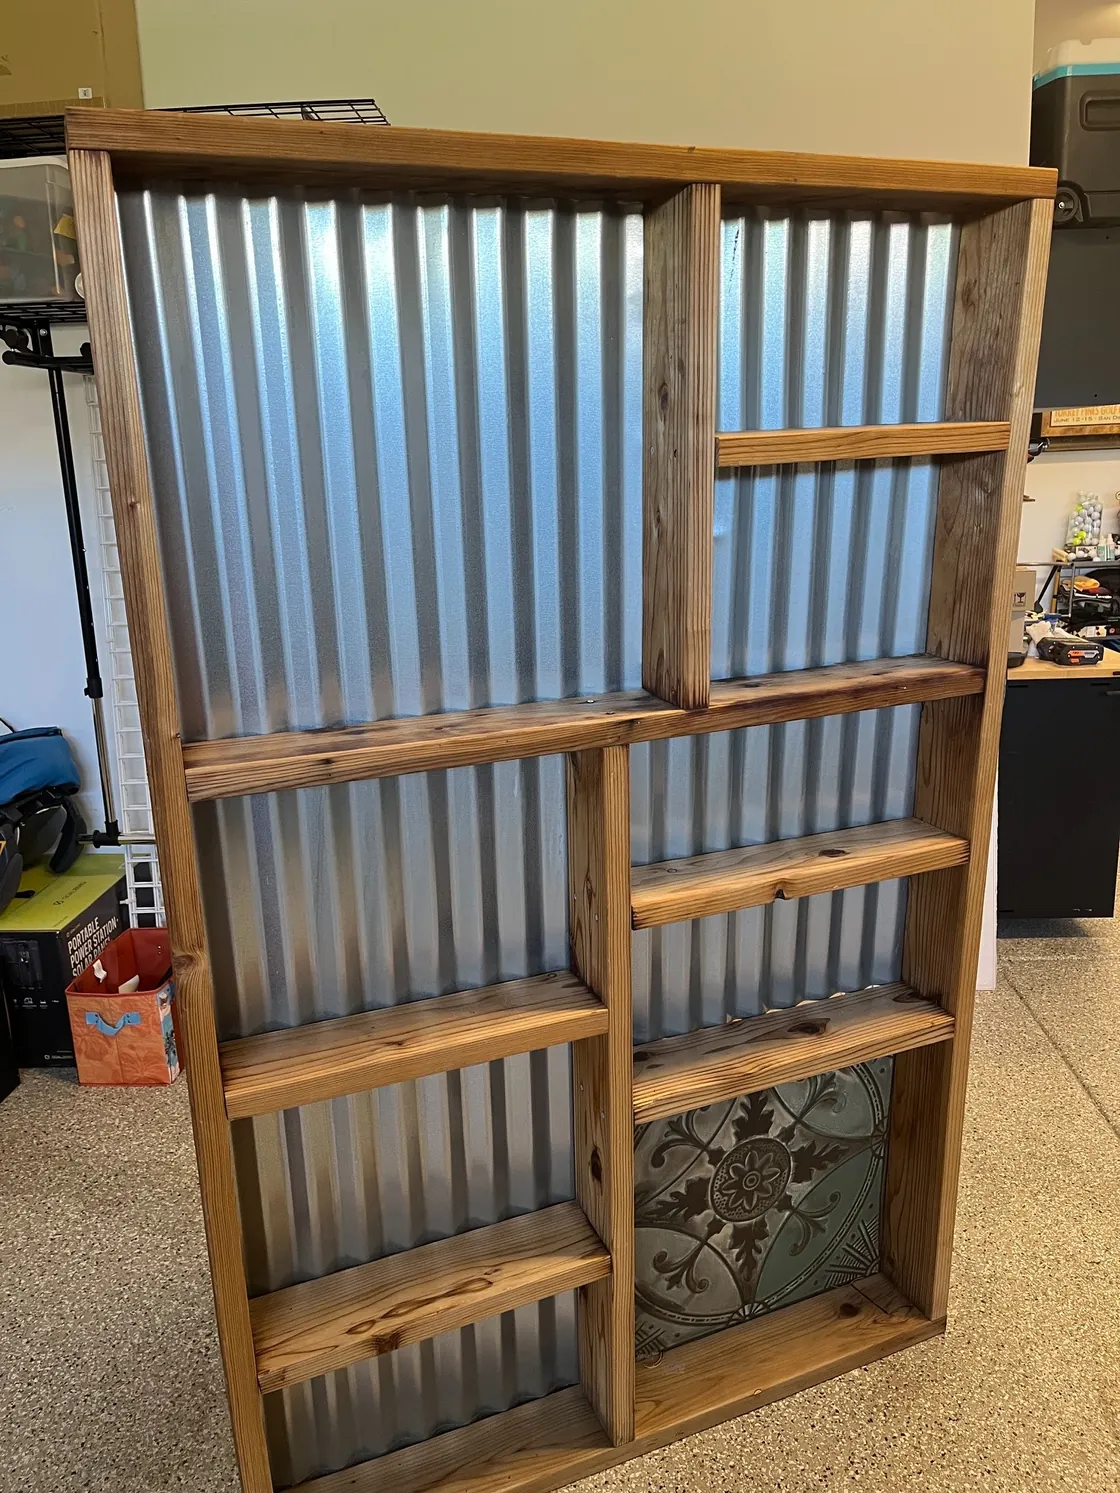
The shelving unit was built several years ago from 2×6 redwood. It has held up well, and the lumber is still in good shape, which makes it a perfect candidate for repurposing instead of starting over with all-new material.
There are a few things I like about using the existing structure. The redwood is already seasoned, there is a useful amount of lumber here, and I can design the new workbench around pieces I already own. That should keep waste down and make the project a little more interesting than simply buying a stack of new boards.
Step 2: Reclaimed Materials
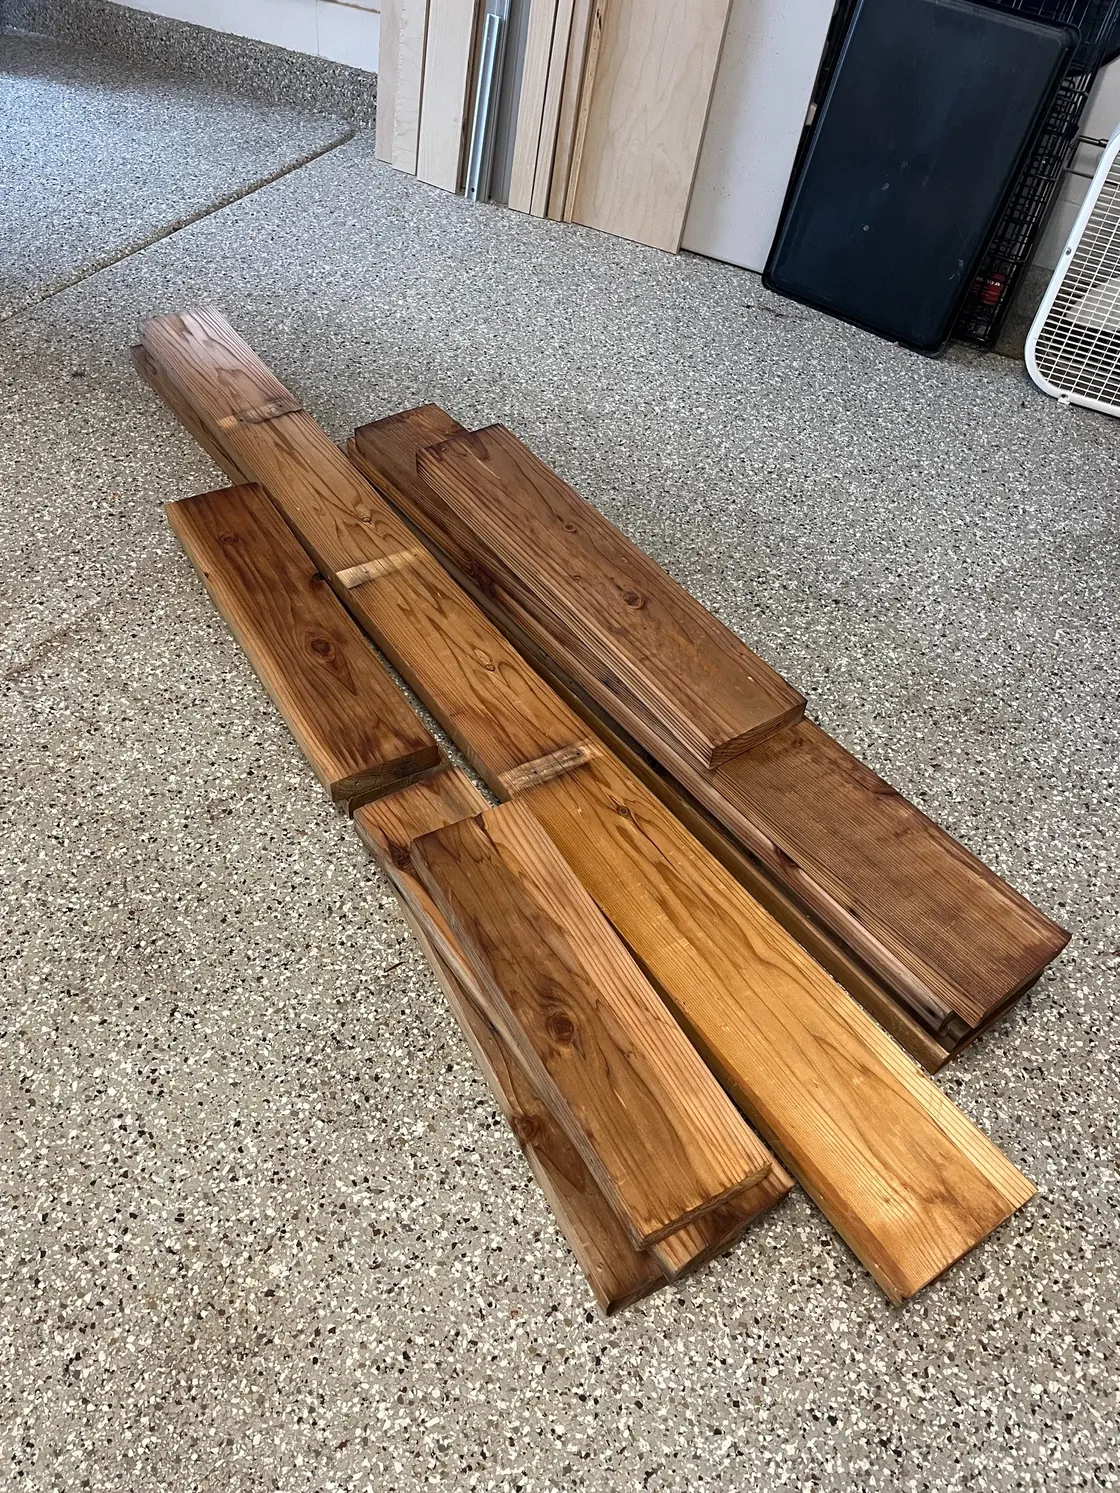
With the shelving unit taken apart, the original 2×6 redwood is now laid out and ready to be reused. This gives me a better look at the pieces I have to work with before deciding how they will become the frame and work surface for the new bench.
What happens next?
The next step is figuring out how the reclaimed 2×6 redwood can be rearranged into a strong workbench frame and usable work surface. I’ll document those decisions as the project moves forward rather than pretending I already have every detail worked out.
Stay Tuned for Updates
This build is just getting started. New stages will be added here as the shelving unit comes apart and the workbench takes shape, including progress photos, changes to the plan, materials reused, and anything I learn along the way.