
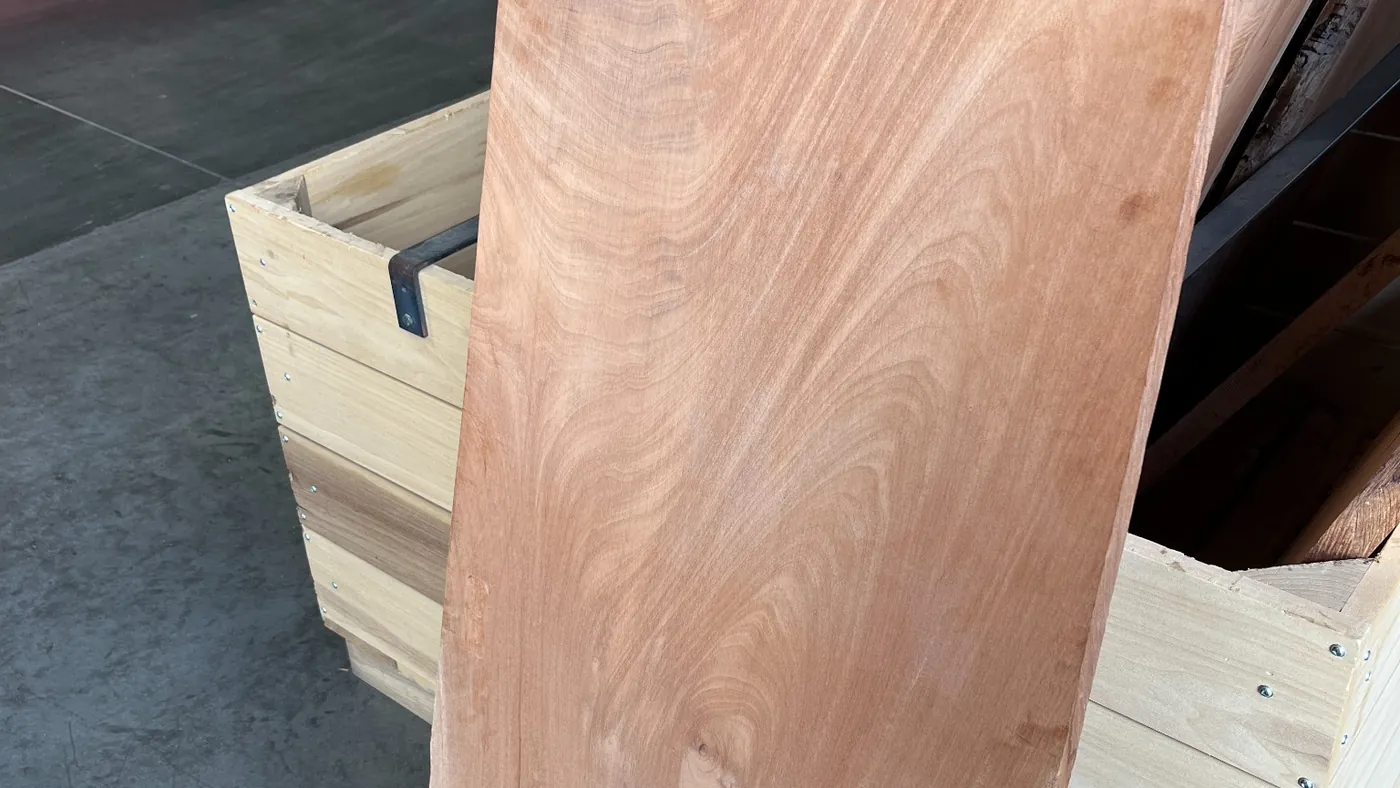
This live edge bathroom vanity project starts with the wood. Instead of choosing a ready-made bathroom vanity and working backward from it, we found two live edge mahogany slabs first. The plan is to turn one into the vanity counter and the other into a lower shelf, then build the rest of the powder bath around the character of the wood.
Step 1: Choosing the Live Edge Mahogany Slabs
The first slab has a long, relatively clean face with strong grain movement and an irregular natural edge. That makes it a promising candidate for the vanity top because the live edge can become a visible design feature instead of something we have to hide.
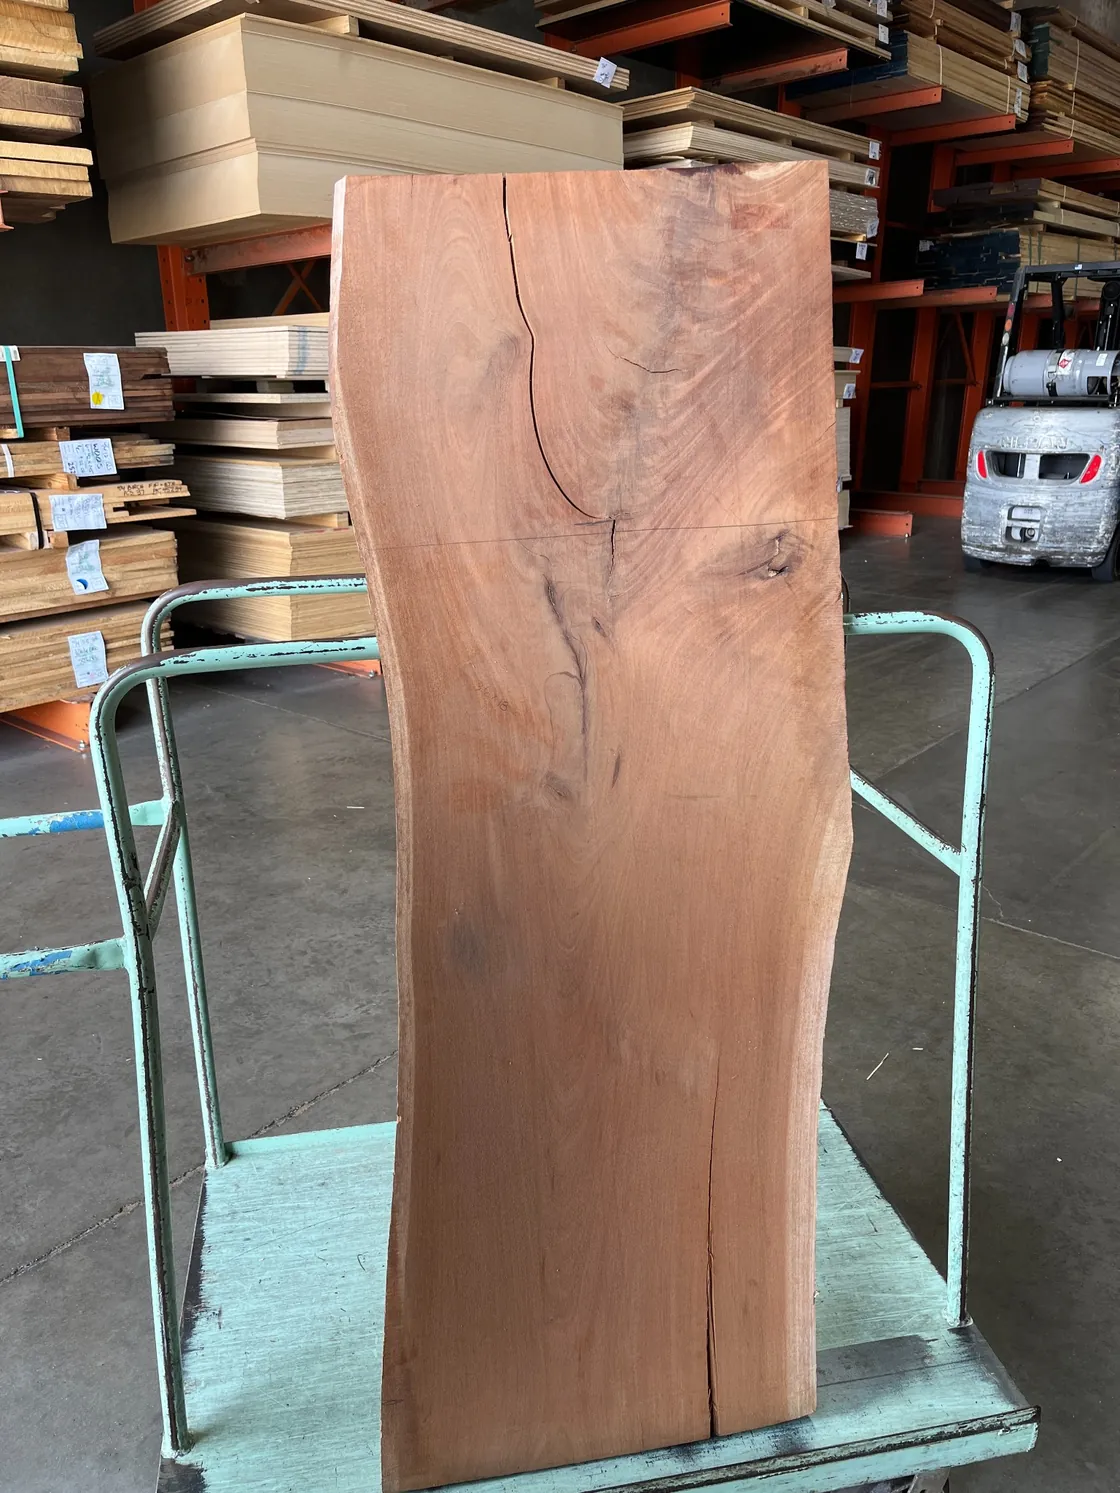
The second slab has more cracks, darker figuring and a different edge profile. We’re planning to use it as the lower shelf, where the variation should add character without competing with the countertop.
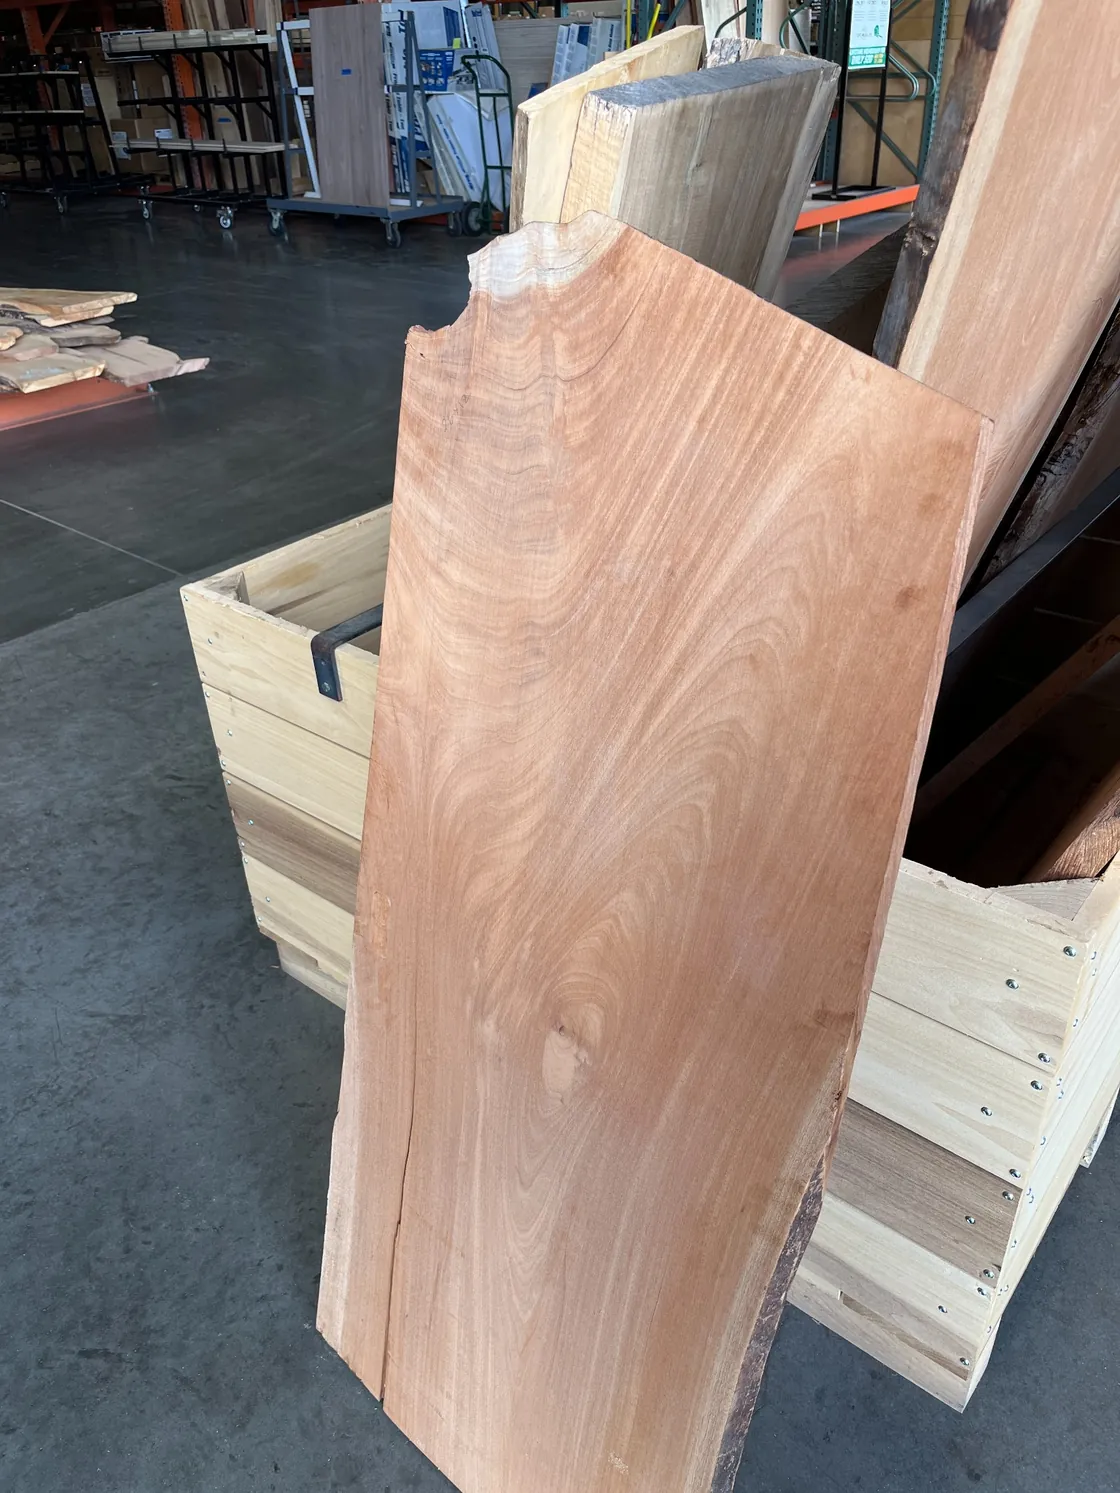
What We Need to Figure Out Before the First Cut
The first major sizing decision is already made. We cut both live edge mahogany slabs to fit the part of the powder bath where the builder-grade pedestal sink is currently installed. One slab is intended for the vanity countertop and the second for the lower shelf.
From here, the remaining decisions are about turning those cut slabs into a finished vanity that fits the room and still shows off the character of the wood.
- Finalize the vanity base or support structure.
- Choose the sink and faucet layout before cutting any openings in the countertop.
- Decide how much of the natural live edge to preserve on the countertop and lower shelf.
- Address the existing checks, cracks and irregular areas in the slabs where needed.
- Select a bathroom-appropriate finish that protects the mahogany from splashes and routine moisture.
- Plan the shelf height and plumbing clearance around the existing sink location.
Step 2: Seal the Crack From the Top With Resin Tape
Before adding resin, we cleaned the top of the slab and made sure the surface was completely dry. We then applied resin tape over the crack on the top side of the slab. The tape creates a temporary seal so the resin can be added from the underside without immediately running through the crack.
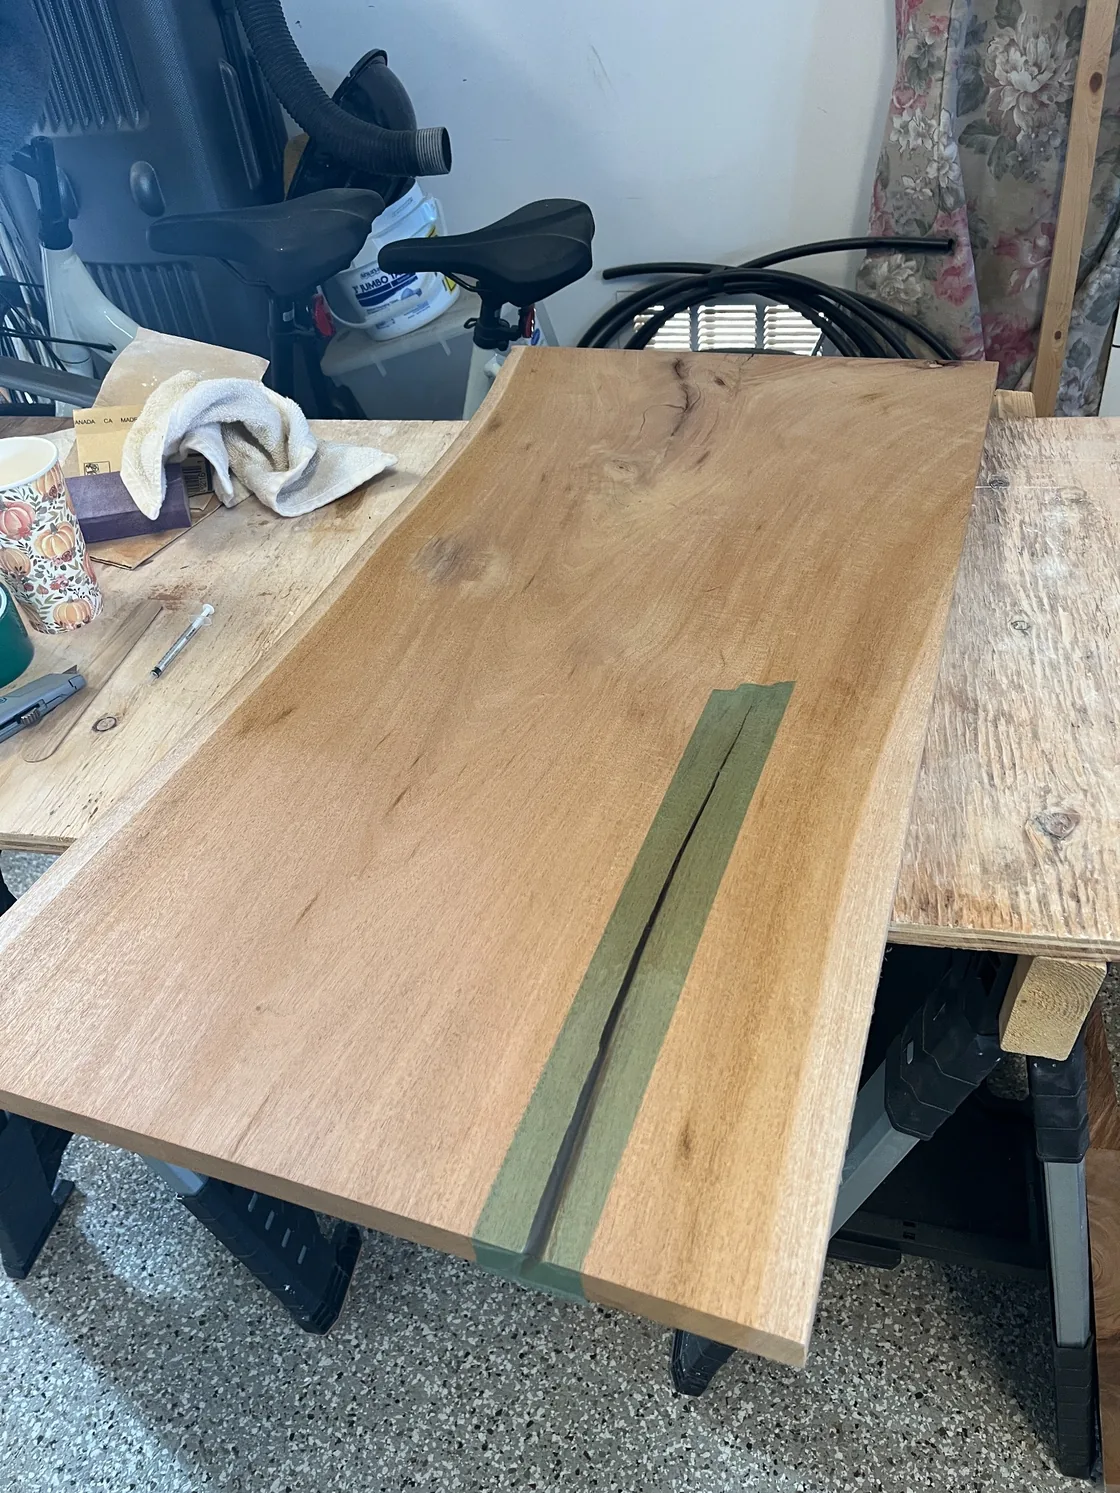
Step 3: Mix the Resin, Add Mica Powder and Fill the Crack
With the top side sealed, we mixed the resin and added colored mica powder to tint the fill. Working from the bottom side of the slab, we poured the resin mixture into the crack. A syringe helped push resin into the narrow sections and tight spaces that were difficult to reach by pouring alone.
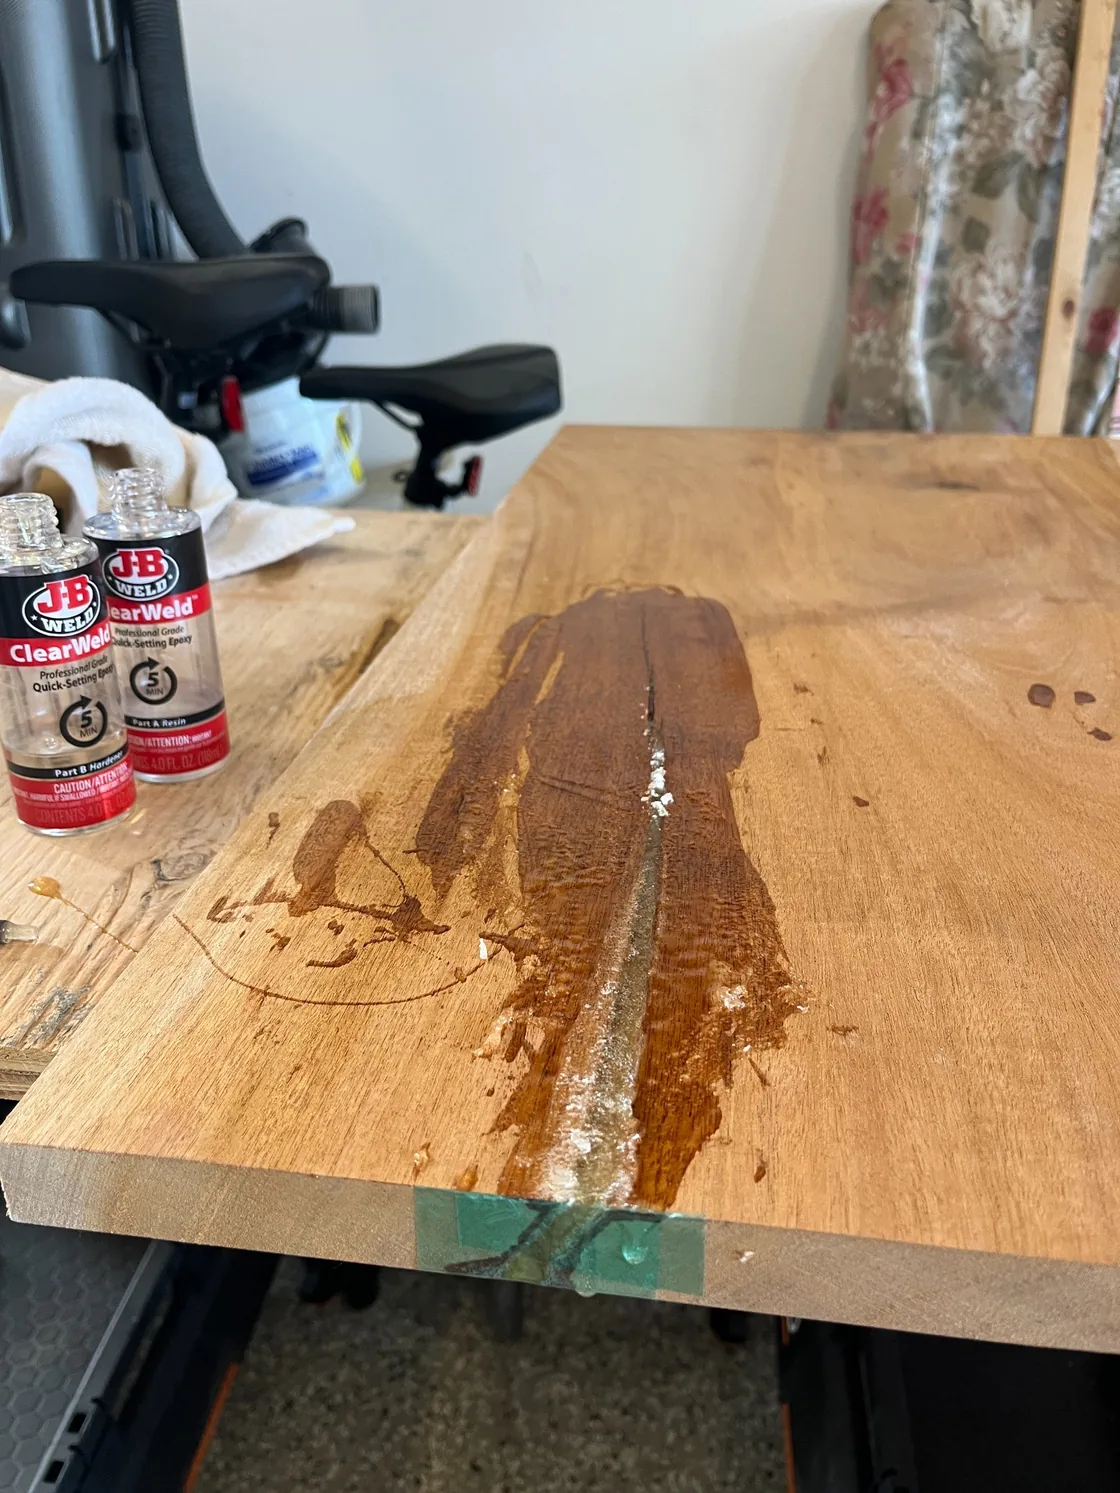
Project note: We purchased the resin tape and colored mica powder on Amazon after we were unable to find either item at our local home improvement store.
Up Next
The next steps are to sand the top smooth and prepare the mahogany for its final protective finish. Once the surface is ready, we’ll apply a waterproof finish designed to protect the vanity from everyday splashes and moisture in the powder bath.
Stay tuned as we continue the build.
Why a Live Edge Wood Vanity?
Most bathroom vanities start with the cabinet and add a manufactured vanity top. We’re reversing that process. The live edge wood slabs are the focal point, so the cabinet, sink and hardware will need to support the wood rather than dominate it.
A solid wood bathroom vanity also gives us control over the final width, depth and shelf spacing. That matters in a powder bath where a stock vanity can look generic or feel oversized.
The Current Vanity Plan
- Use one mahogany slab as the vanity counter.
- Use the second slab as a lower open shelf.
- Preserve the best-looking section of the natural live edge.
- Size the vanity specifically for the powder bath rather than around a stock cabinet.
- Choose the sink, faucet and base design after the slab layout is finalized.
The design may change as we flatten and lay out the slabs. That is part of the reason we’re documenting the project as it happens.
Bathroom Vanity Upgrade Ideas: Why This One Is Different
There are plenty of modern bathroom vanity design ideas built around painted cabinets, quartz tops and floating boxes. Those can look great, but for this powder bath we want the vanity to feel like a one-off piece of furniture.
The mahogany gives us a natural focal point before we have chosen tile, wall treatment, lighting or hardware. If the finished vanity works the way we expect, the rest of the powder bath can stay relatively restrained and let the wood carry the room.
Follow the Powder Bath Remodel
Next we’ll start turning the already-sized mahogany slabs into the vanity countertop and lower shelf, while finalizing the sink placement, support structure and finish details.
Before the new vanity goes in, we’ll also document the demo of the existing powder bath, including removal of the current pedestal sink and the parts of the room that need to come out before the new vanity, plumbing layout and finishes are installed.
This page will be updated as each stage is completed, including the slab work, vanity construction, finish choice, sink installation and final before-and-after reveal.