
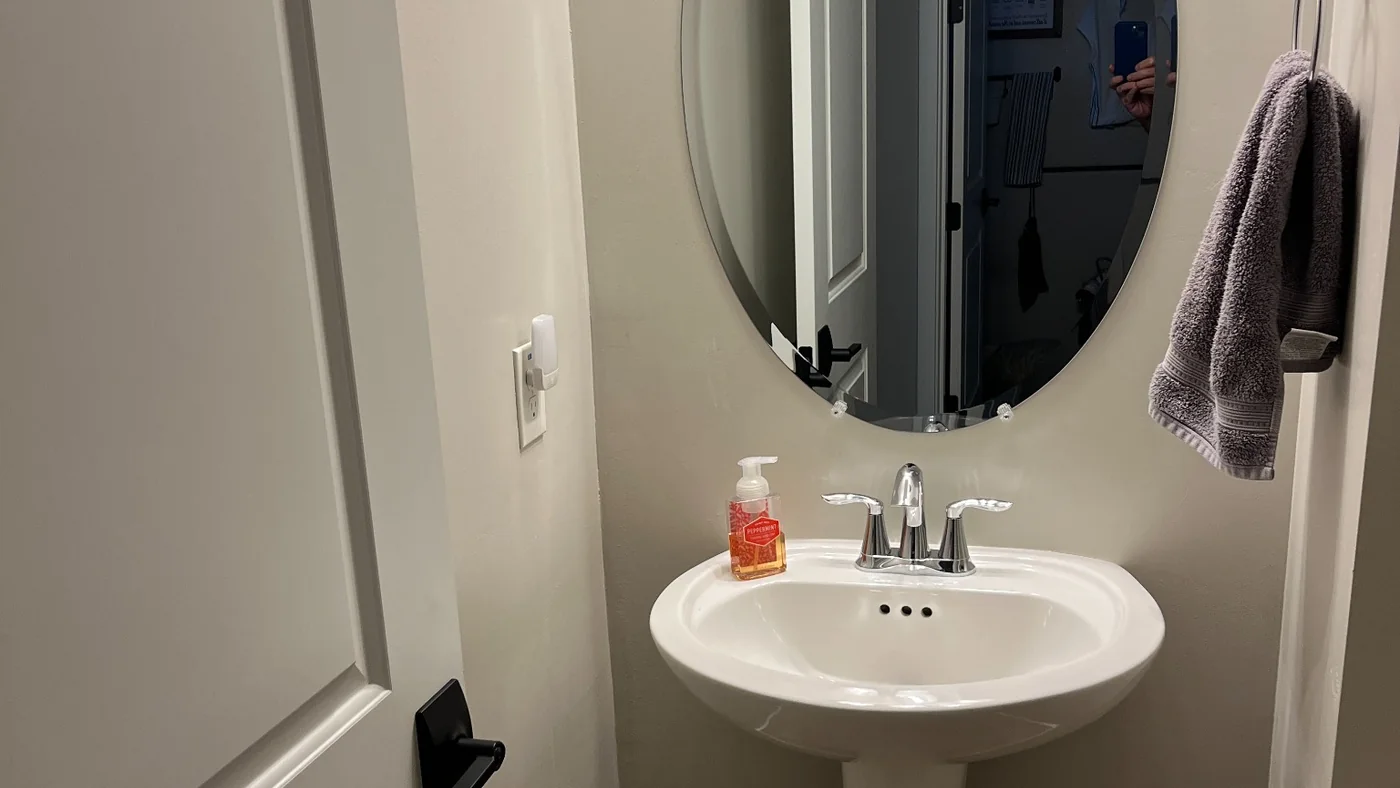
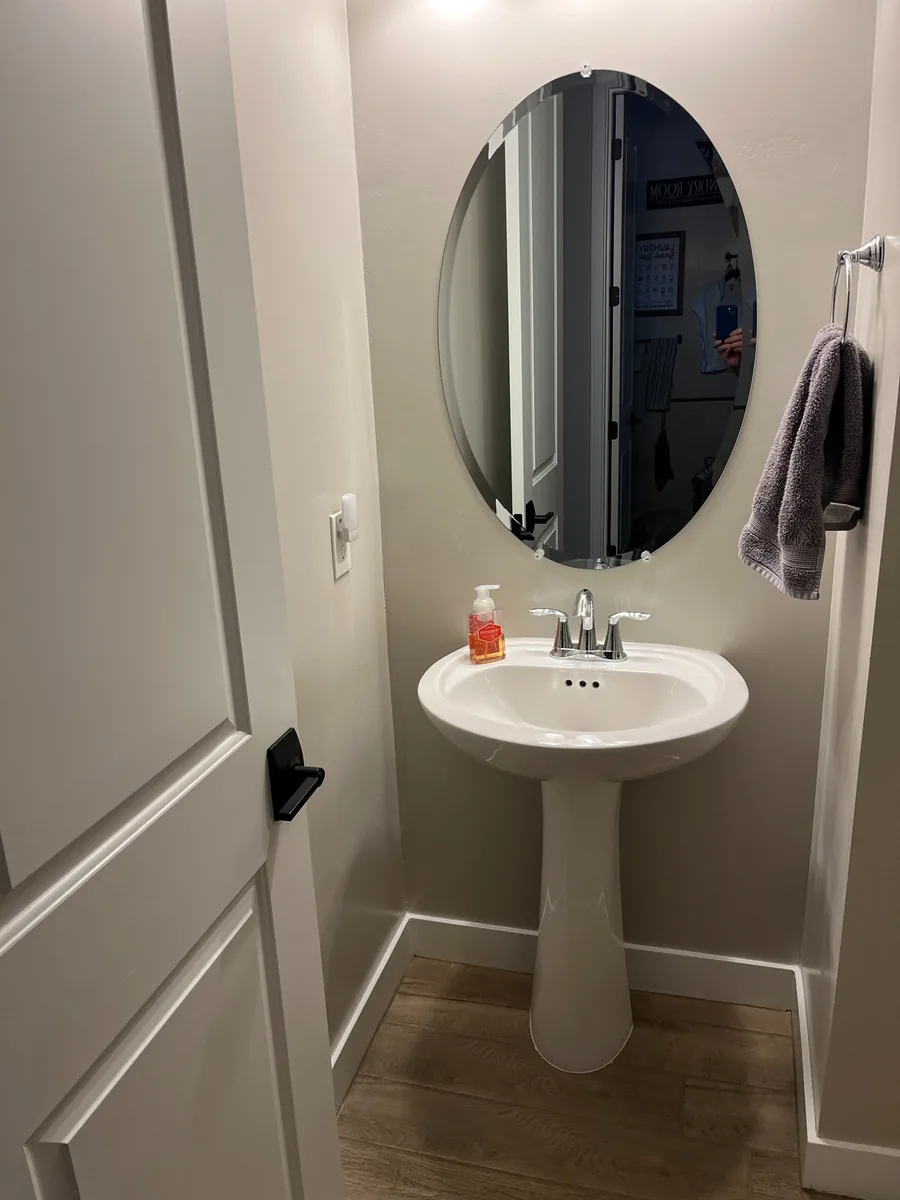
This powder room remodel is a real, ongoing project. The room started with a pedestal sink, oval mirror, neutral walls and a simple builder-grade layout. The footprint works, so the goal is not to move everything around—it is to make a small room feel more intentional by replacing the basic sink setup with a custom live-edge mahogany vanity and coordinating the finishes around it.
Where the Powder Room Remodel Started
The original room was clean and functional, but the pedestal sink left us with almost no visual weight or storage. Because the room is narrow, every major choice is noticeable: the vanity, mirror, wall finish and lighting all have to work together without making the space feel crowded.
Rather than install a standard cabinet vanity, we decided to build the room around the live-edge mahogany slab we had already been working on. That gives the remodel a focal point and lets the rest of the room stay relatively simple.
Powder Room Remodel Ideas We’re Using
This is not a cosmetic-only makeover. The main change is the vanity, but the room is being planned as one complete design so the new wood top does not look like it was dropped into the old space.
- Live-edge mahogany vanity top: the finished slab will replace the pedestal sink as the main focal point.
- Matching lower shelf: a second live-edge piece will add useful open storage without the bulk of a full cabinet.
- White vessel sink: this keeps more of the wood visible instead of cutting a large sink opening into the slab.
- Warm metal fixtures: the faucet and related hardware are planned in a brushed-brass tone to contrast with the darker wood.
- Backsplash and wall finish: tile behind the vanity will protect the wall and help frame the wood, while a deeper muted-green wall color will give the small room more character.
- New mirror and vanity lighting: both will be scaled to the tighter space and coordinated with the updated finishes.
Demo: Removing the Pedestal Sink
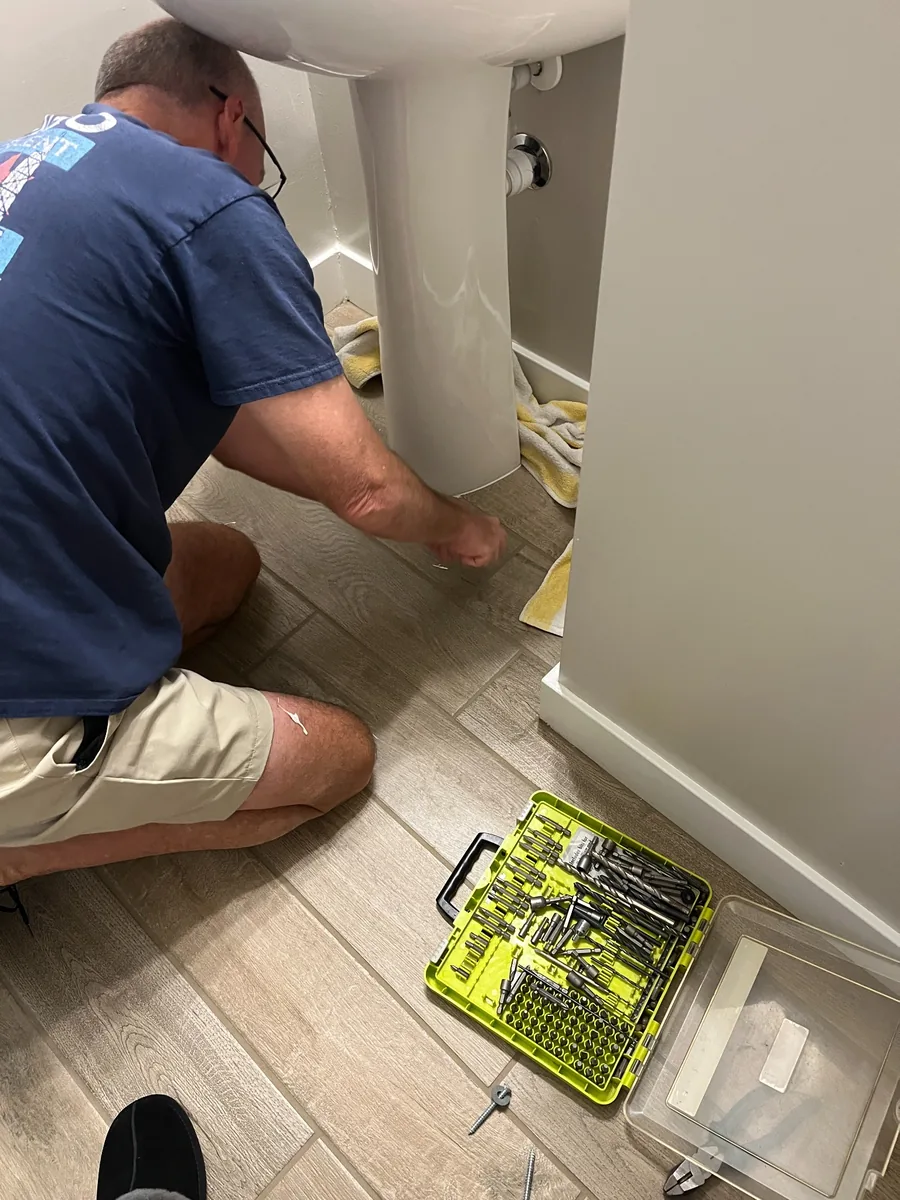
The first major step was getting the existing pedestal sink out of the way. With the water shut off, we disconnected the sink from the supply and drain connections and removed the pedestal so we could see exactly what we were working with behind it.
One advantage of documenting the room at this stage is that it shows the practical reality of a remodel: once the fixture comes out, the next decisions depend on what is actually left behind—not just what the finished design is supposed to look like.
Watch Part 1: Powder Room Demo →
What the Room Looks Like After Demolition
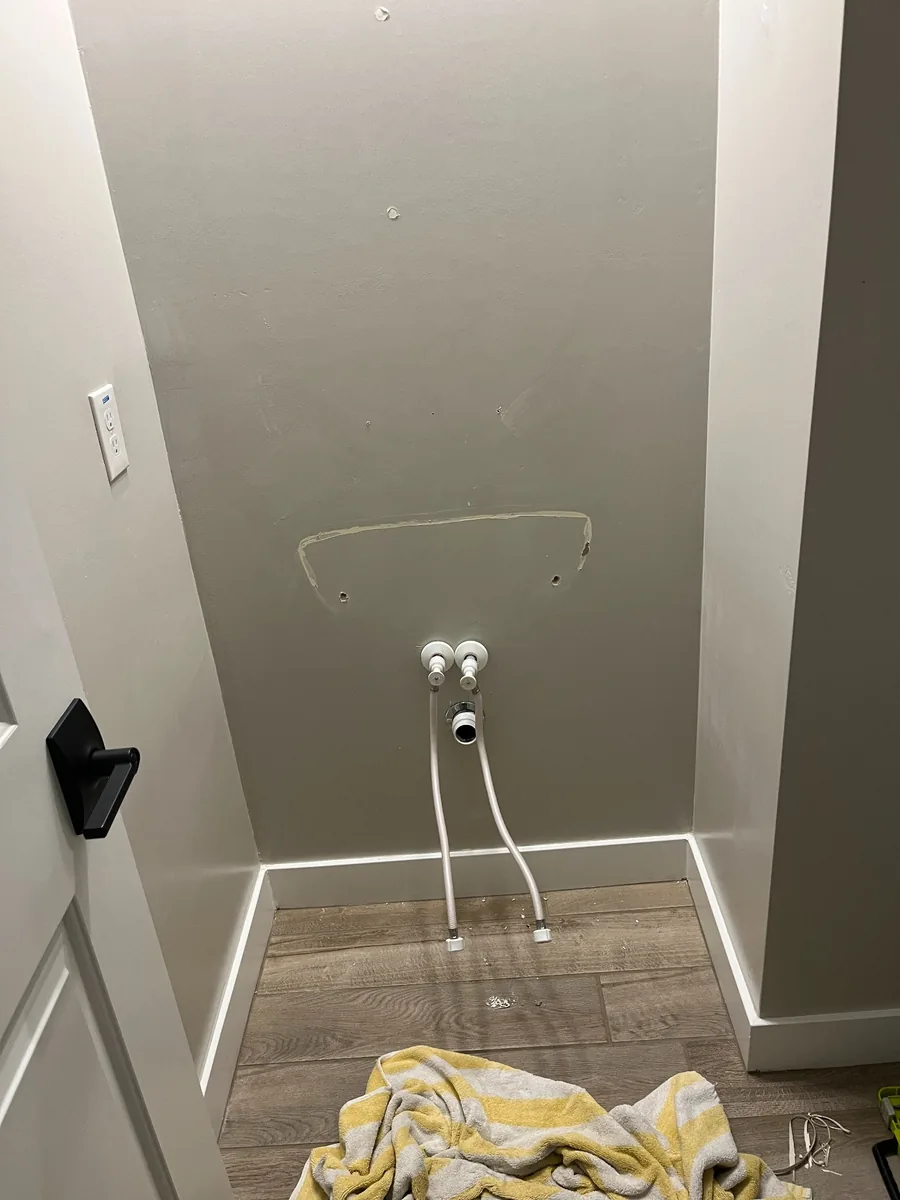
With the sink and mirror removed, the room is stripped back enough to plan the next phase. The existing hot and cold supply lines and drain are visible, and the wall shows the old fixture and mirror attachment points that will need to be repaired or covered as the new layout comes together.
The floor is staying in place, which keeps the scope focused on the vanity wall and the finishes around it. From here, the important work is making sure the wall, plumbing locations and new vanity dimensions all agree before anything permanent goes back in.
The Live-Edge Vanity Is Ready to Install
The custom mahogany slab has already gone through the separate build and finishing process, so the remodel and vanity projects are now coming together. The slab is finished and ready to be installed in the room shown above.
See the full live-edge bathroom vanity project for the slab selection, resin work, sanding and finishing details.
Powder Room Remodel Cost: What We’re Tracking
We are not publishing a made-up project total before the room is finished. Instead, we’ll update this section with the actual costs as the remodel progresses so the final number reflects what we really used.
Once the project is complete, we’ll add the final spend and note which choices had the biggest effect on cost.
What Comes Next
Demo is finished, so the next phase is preparing the vanity wall and getting the room ready for the custom slab. The sequence from here will include wall repair and prep, backsplash work, vanity installation, the vessel sink and faucet, mirror and lighting changes, paint and the final details.
This page will stay focused on the full powder room remodel. The separate live-edge vanity article will continue to cover the woodworking and slab-specific details so the two projects stay useful without repeating the same information.
Follow the Powder Room Remodel
Part 1 is the starting point and demolition. We’ll keep adding the real photos, decisions, problems and fixes as the room moves toward the finished reveal.
The custom vanity slab is ready. Next is seeing how it fits—and how the finished powder room comes together around it.